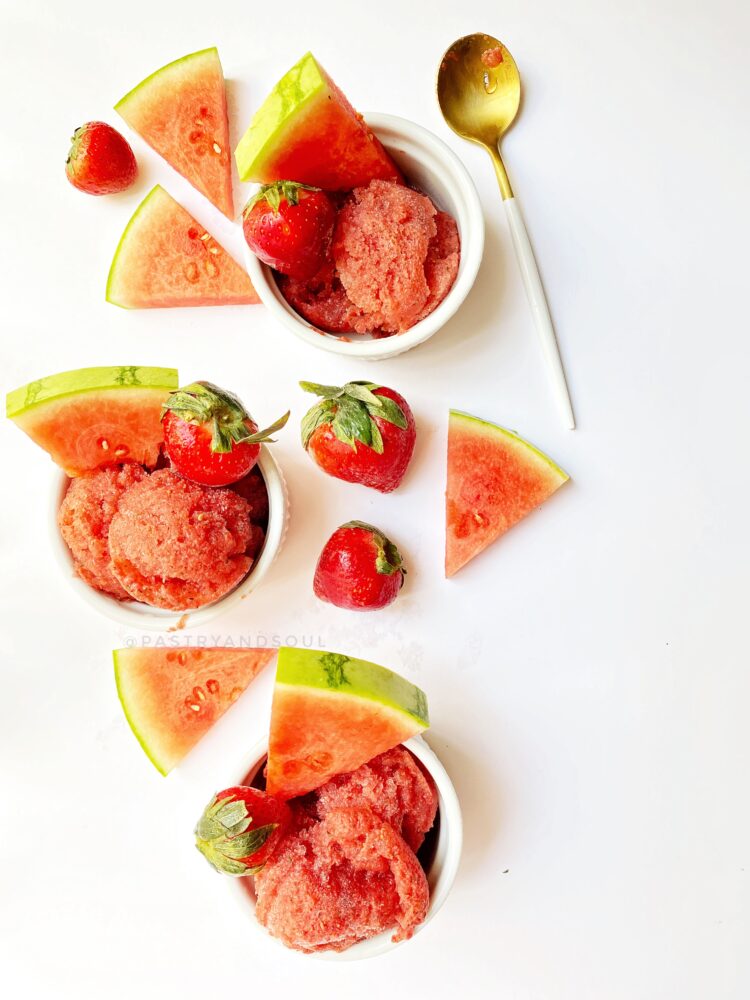
Be sure to try out this ultra refreshing watermelon strawberry and basil sorbet for a light sweet treat! Yes, we're nearing the end of summer 2020, but that doesn't mean that we have to drop all of the melons and berries for pumpkin spice just yet! It's definitely still pretty warm outside in Los ...
Archives for September 2020
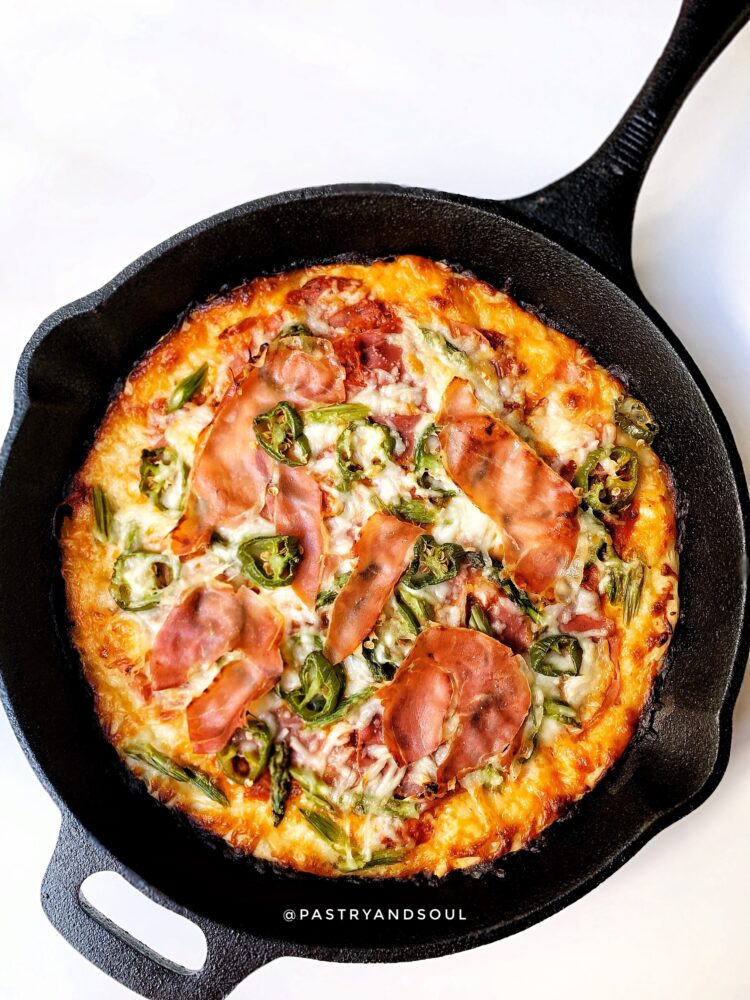
Asparagus, Jalapeño, and Prosciutto Cast Iron Skillet Pizza
Try out this asparagus, jalapeño , and prosciutto cast iron skillet pizza recipe! I can't get enough of pizza whether is a thin crust, thick crust, or herbed crust pizza. They all taste great to me! My ideal pizza needs to have a great crust and sauce. Those are the key elements to a perfect ...

S’more Brownies with Raspberries
These Ooey Gooey S'more brownies with raspberries are decadent, chocolaty, tart and scrumptious! You don't need a camp-fire to have a delicious s'mores! Summer is winding down, but it's still pretty warm outside here in Los Angeles! S'mores are a childhood favorite of mine, so I'm excited to eat ...

Simple and Easy Brownies
Try out this simple and easy brownie recipe! Brownies are one of those desserts that are on my list of comfort foods. They’re perfect any time of the year and pair well with many different kinds of flavors. Brownies are amazing with ice cream, whipped cream, nuts, chocolate chips, gummy worms, ...