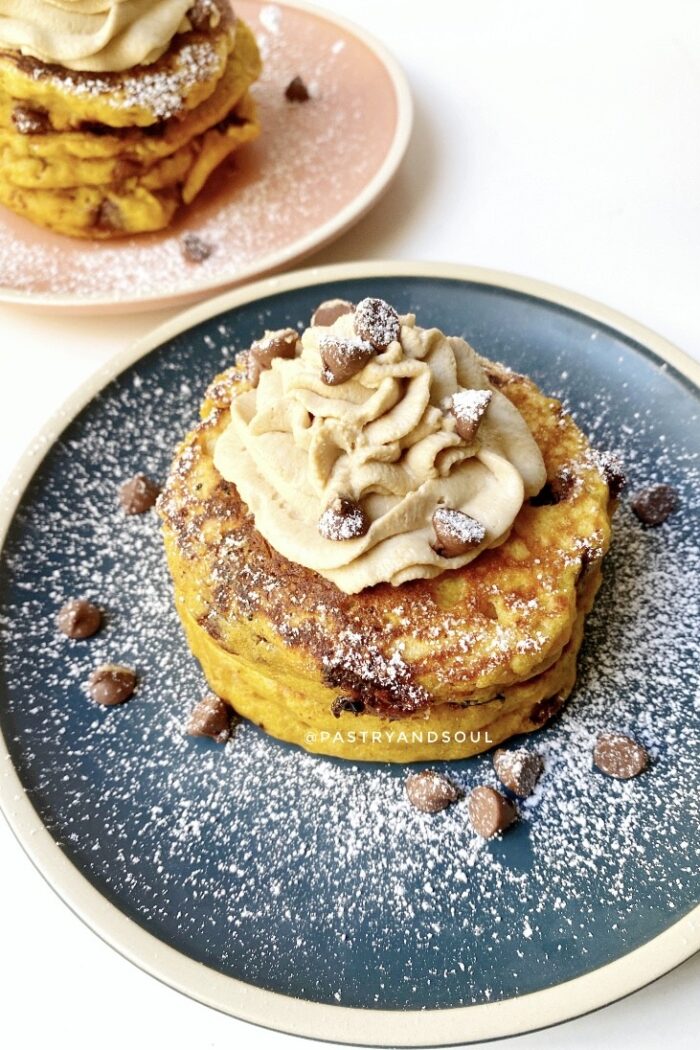


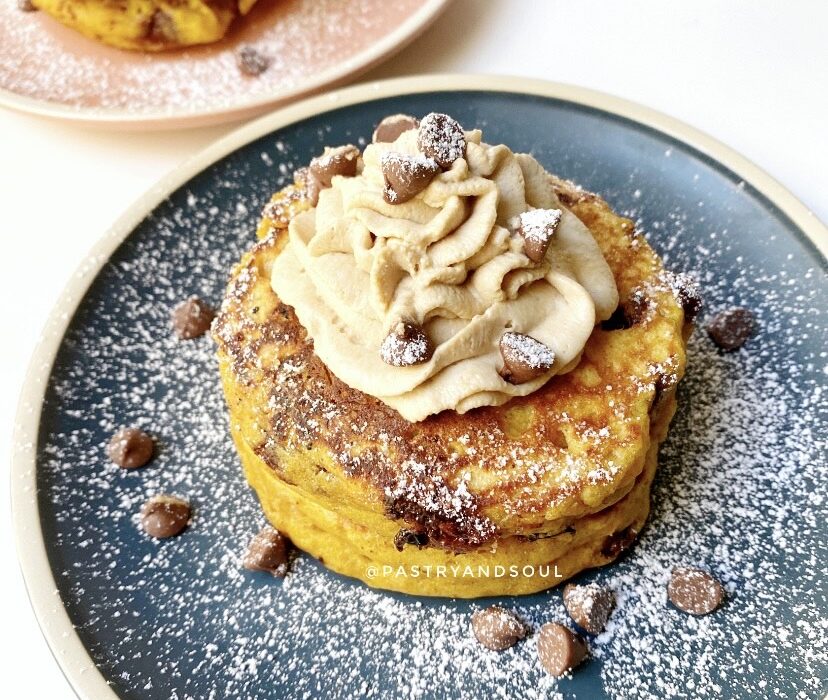
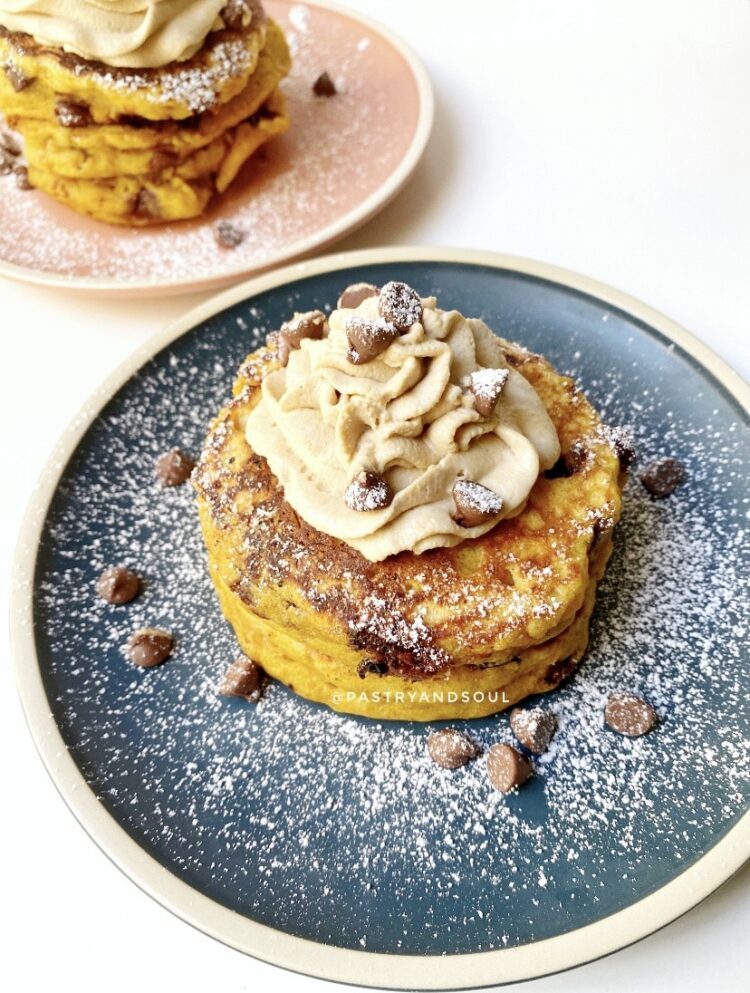
These delicious Chocolate Chip Pumpkin Spice Latte pancakes will be your go to fall breakfast and brunch food! You'll want to always have these pancakes on the menu. These are hands down my favorite pancakes, not just for fall, but for anytime of the year! I hope you love them, too! Are you ...
Chocolate Chip Pumpkin Spice Latte Pancakes
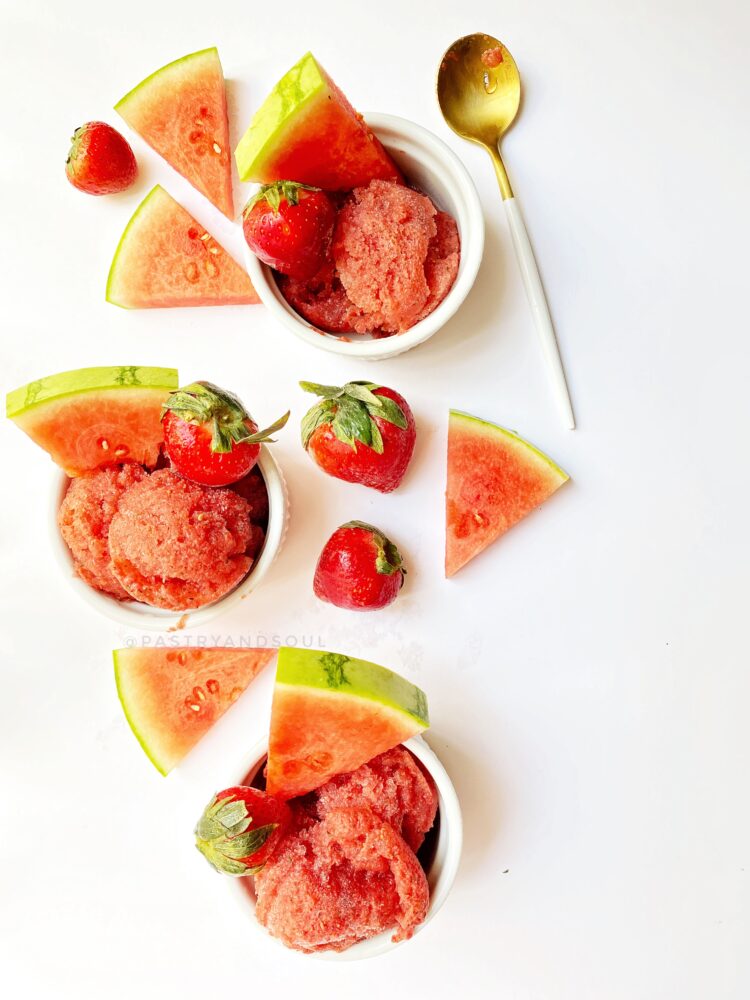
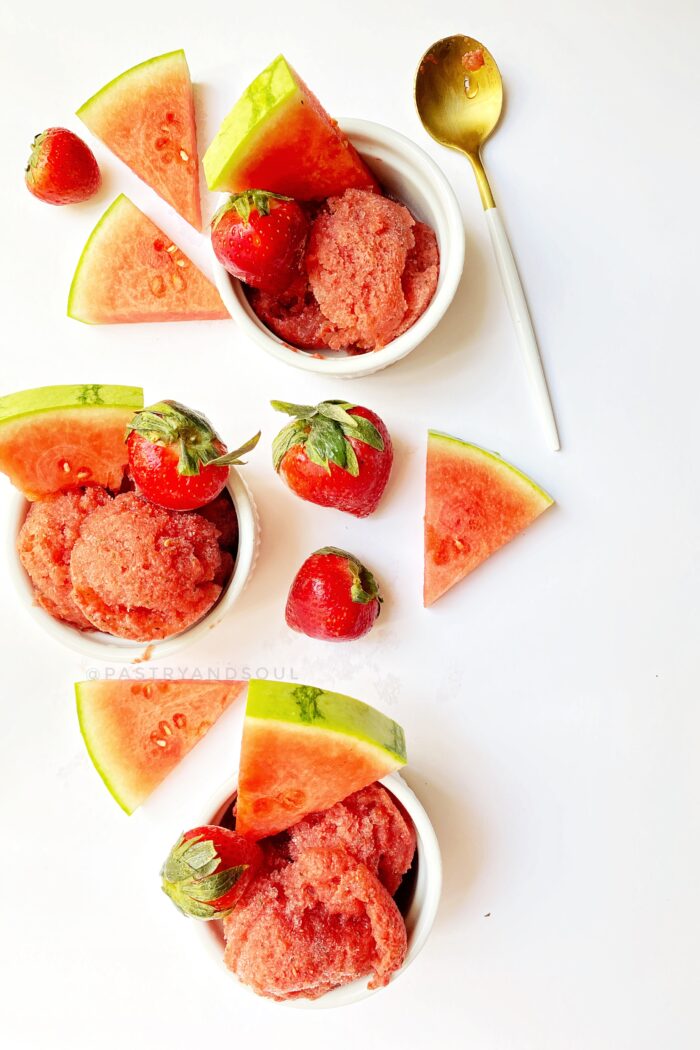
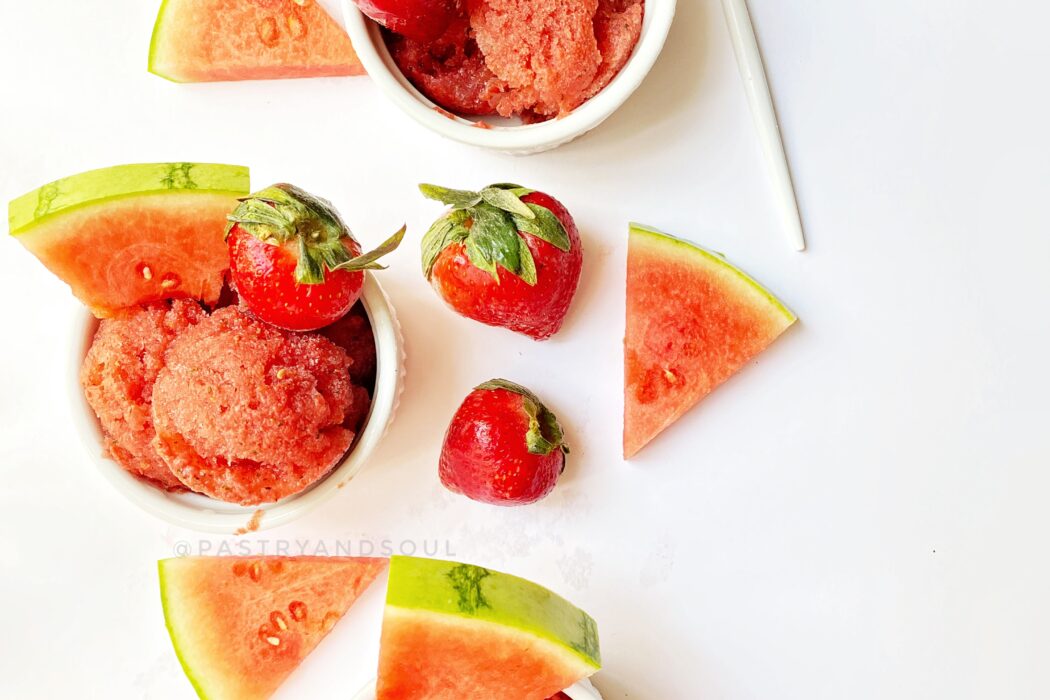
Watermelon strawberry and basil sorbet
Be sure to try out this ultra refreshing watermelon strawberry and basil sorbet for a light sweet treat! Yes, we're nearing the end of summer 2020, but that doesn't mean that we have to drop all of the melons and berries for pumpkin spice just yet! It's definitely still pretty warm outside in Los ...
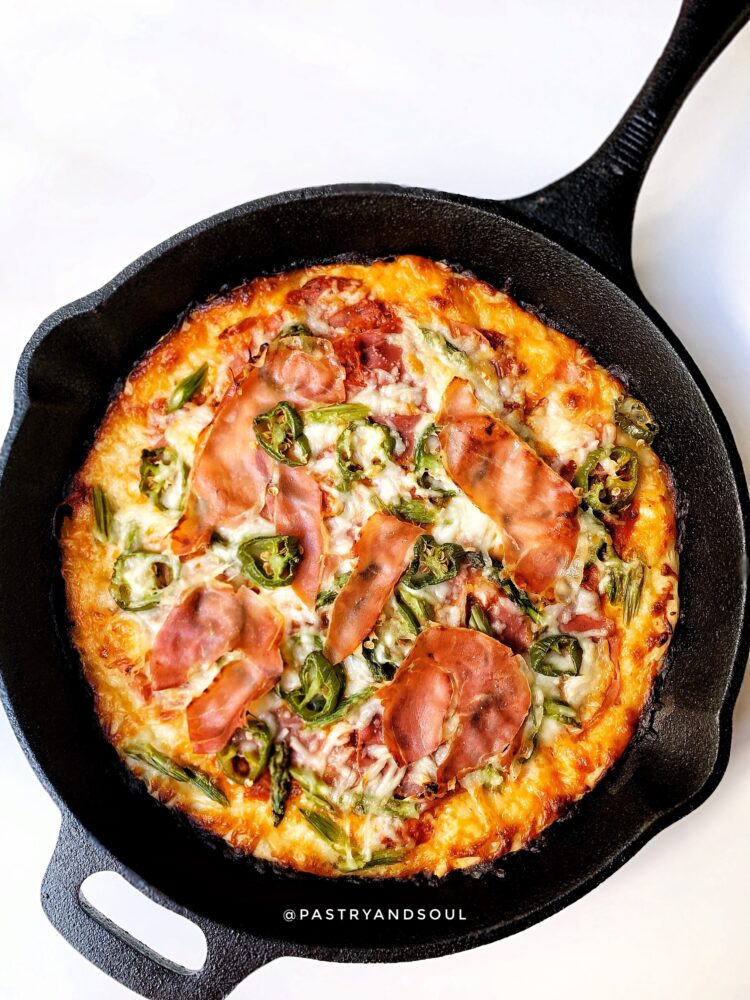
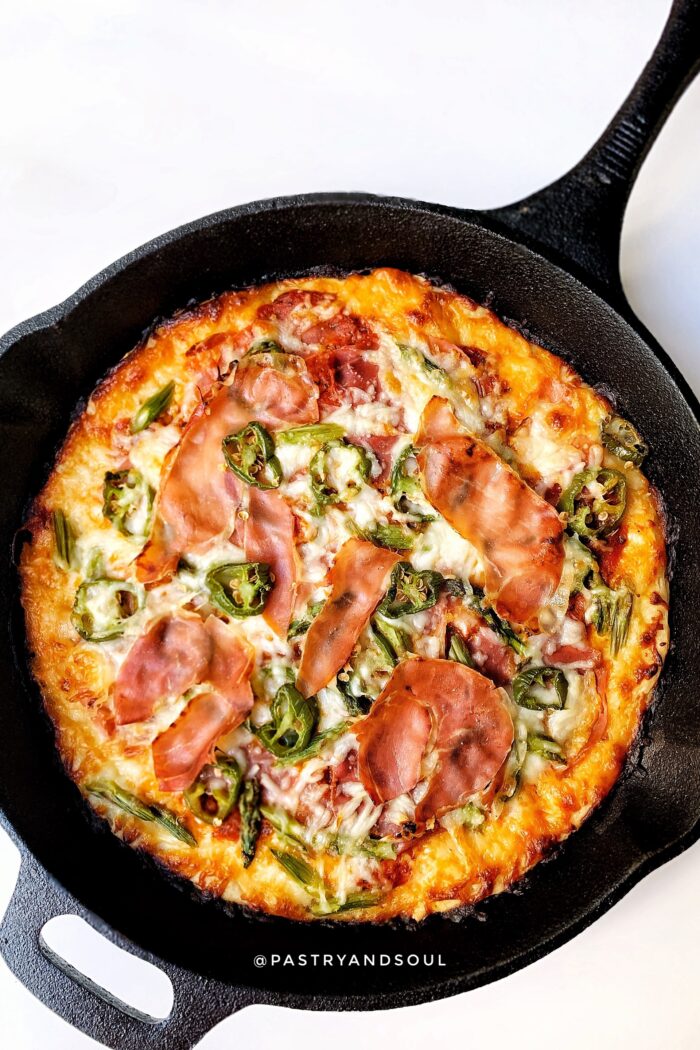
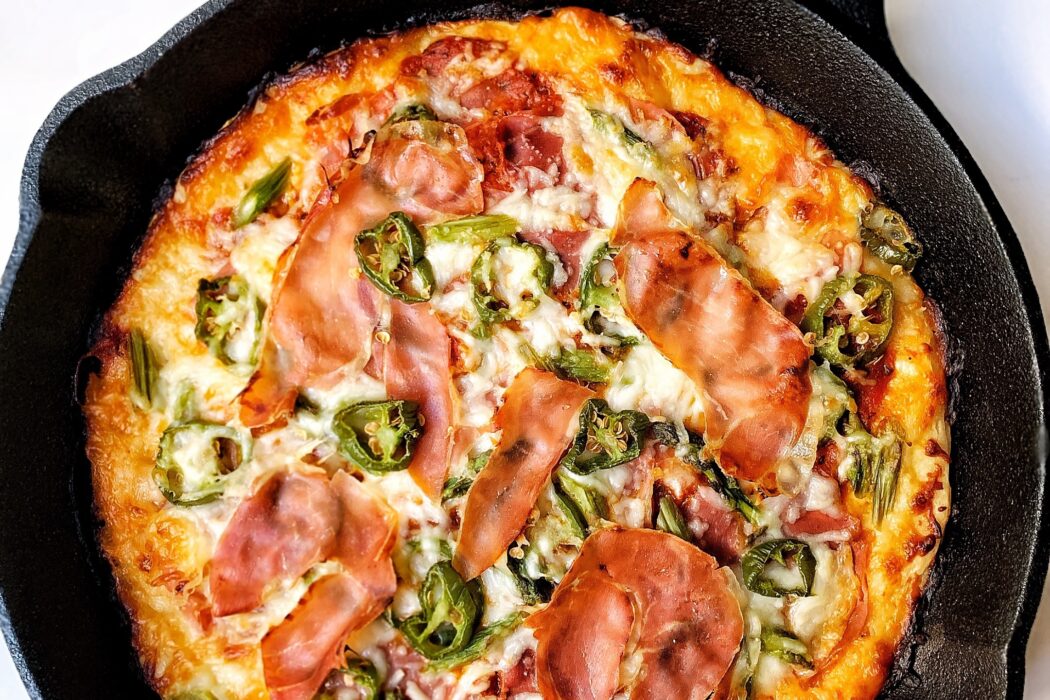
Asparagus, Jalapeño, and Prosciutto Cast Iron Skillet Pizza
Try out this asparagus, jalapeño , and prosciutto cast iron skillet pizza recipe! I can't get enough of pizza whether is a thin crust, thick crust, or herbed crust pizza. They all taste great to me! My ideal pizza needs to have a great crust and sauce. Those are the key elements to a perfect ...
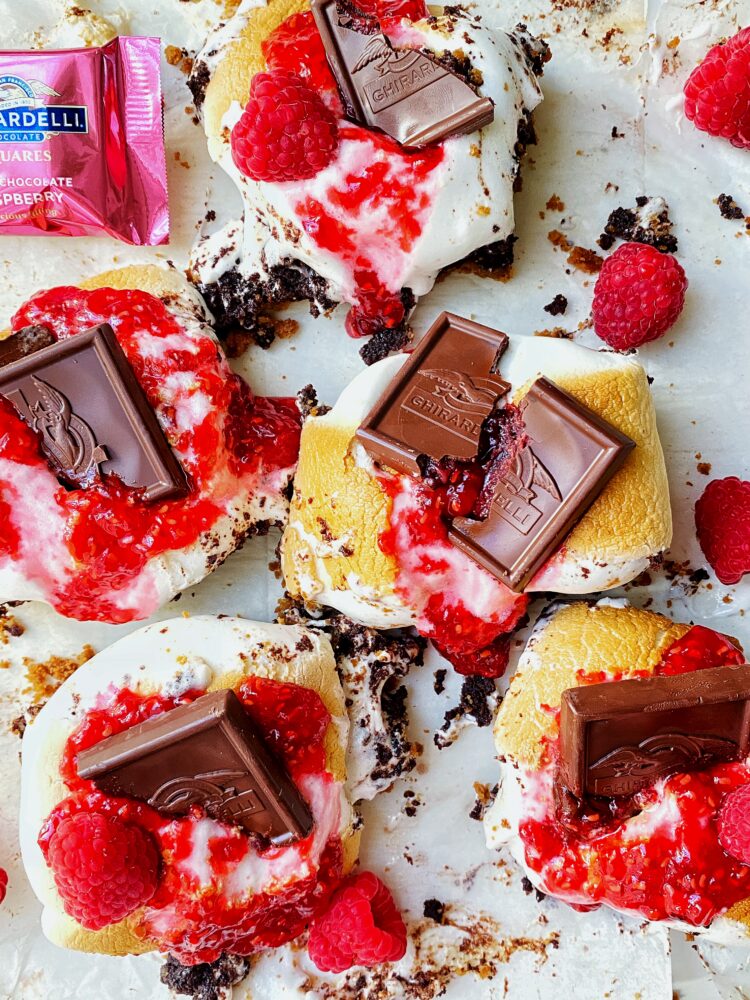
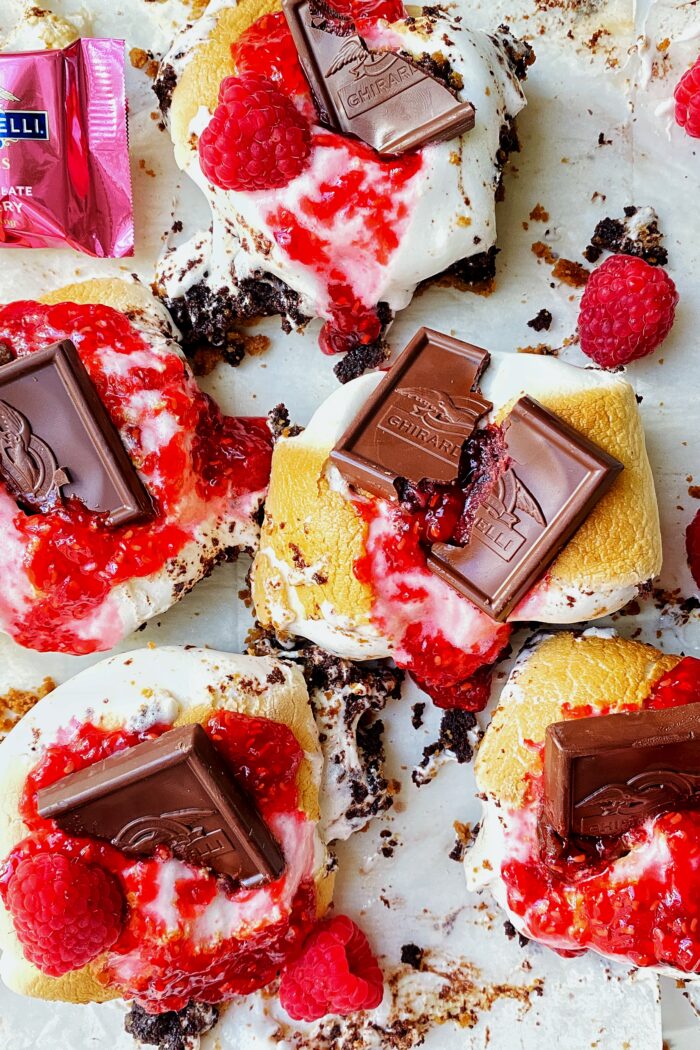
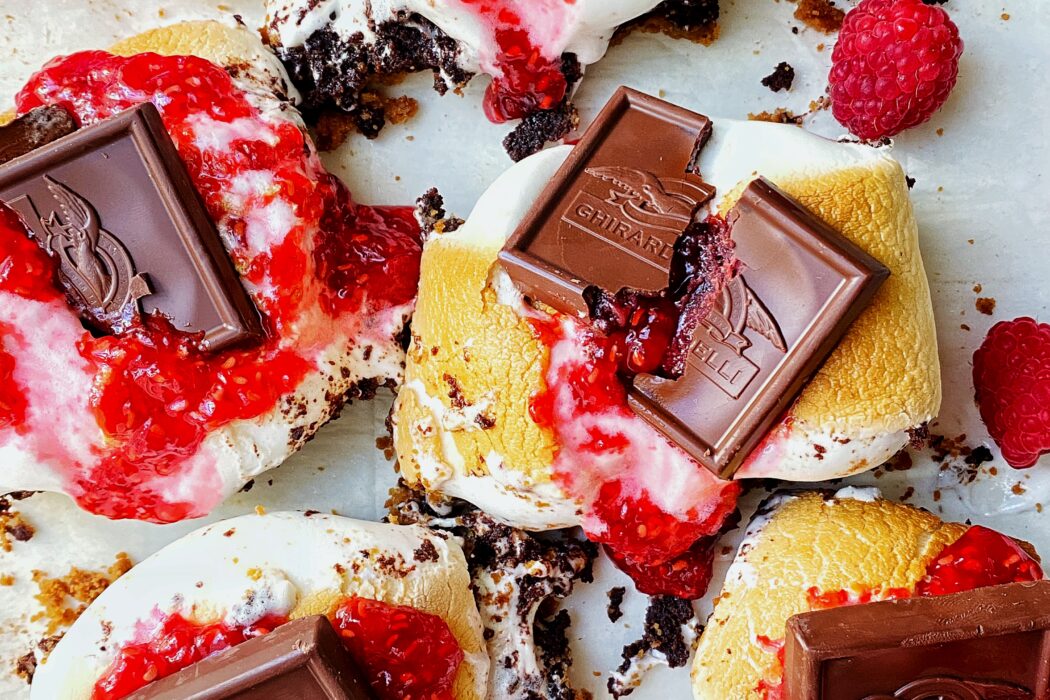
S’more Brownies with Raspberries
These Ooey Gooey S'more brownies with raspberries are decadent, chocolaty, tart and scrumptious! You don't need a camp-fire to have a delicious s'mores! Summer is winding down, but it's still pretty warm outside here in Los Angeles! S'mores are a childhood favorite of mine, so I'm excited to eat ...

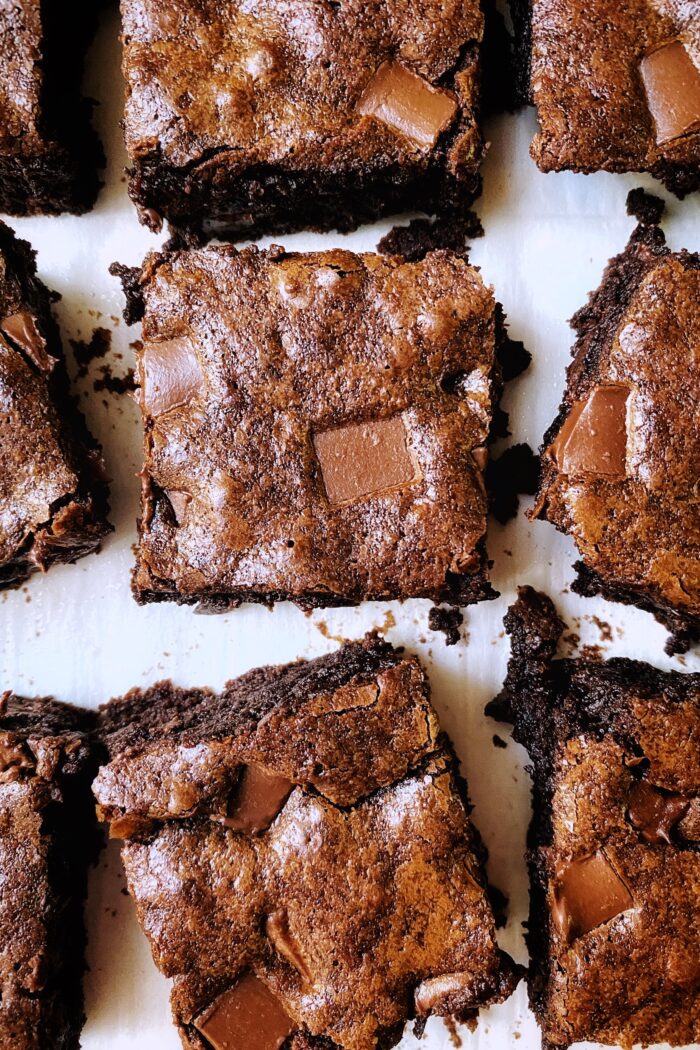
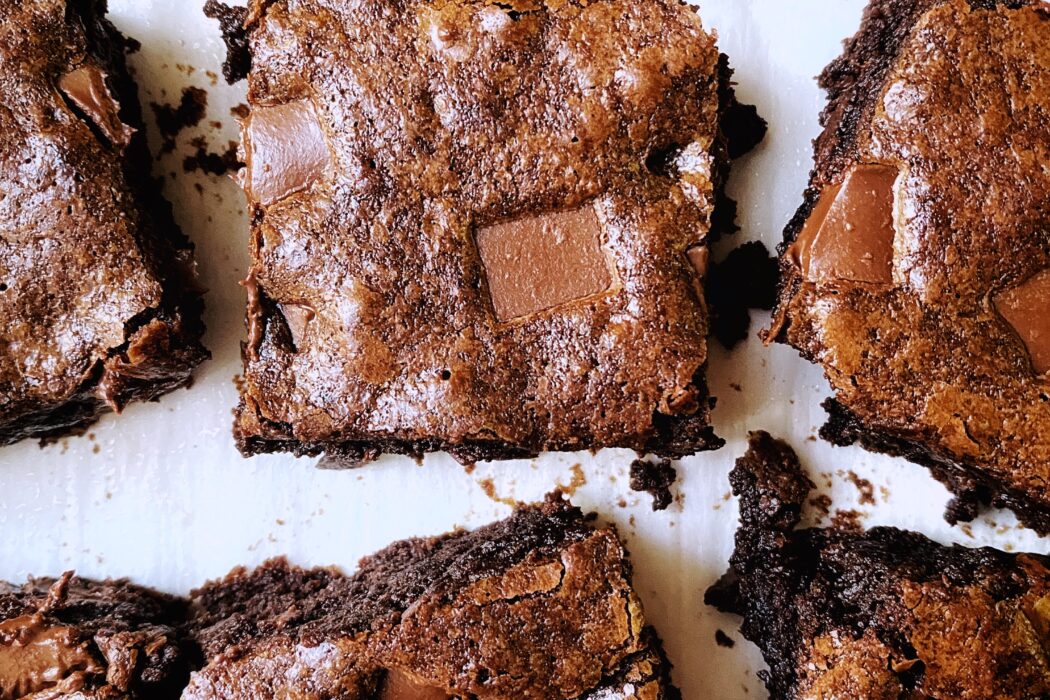
Simple and Easy Brownies
Try out this simple and easy brownie recipe! Brownies are one of those desserts that are on my list of comfort foods. They’re perfect any time of the year and pair well with many different kinds of flavors. Brownies are amazing with ice cream, whipped cream, nuts, chocolate chips, gummy worms, ...
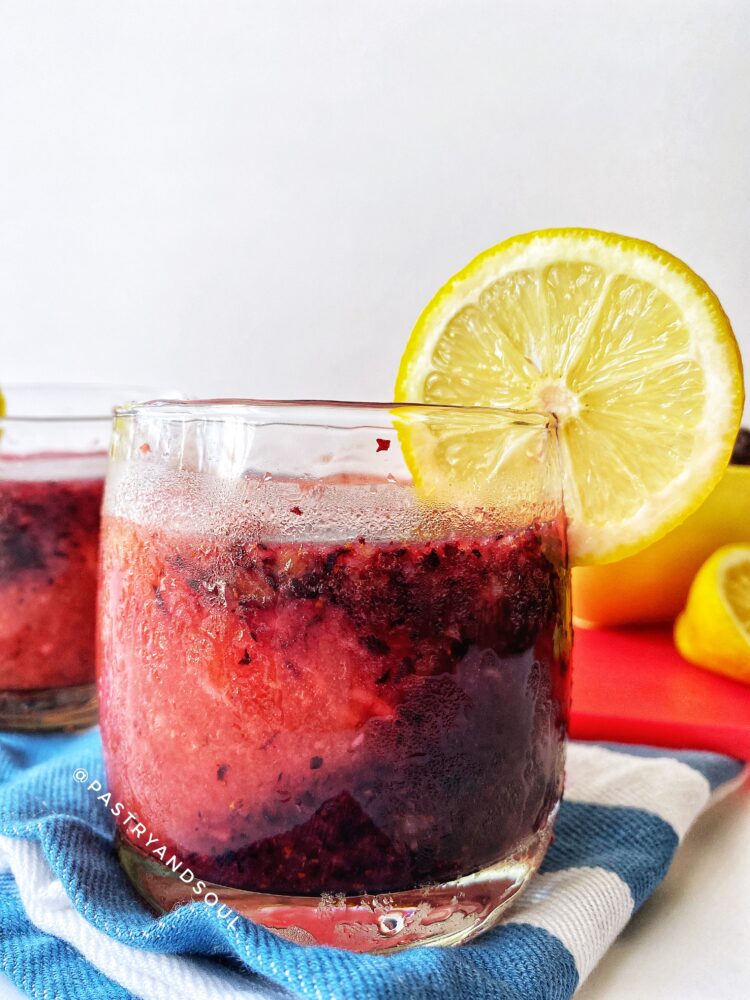
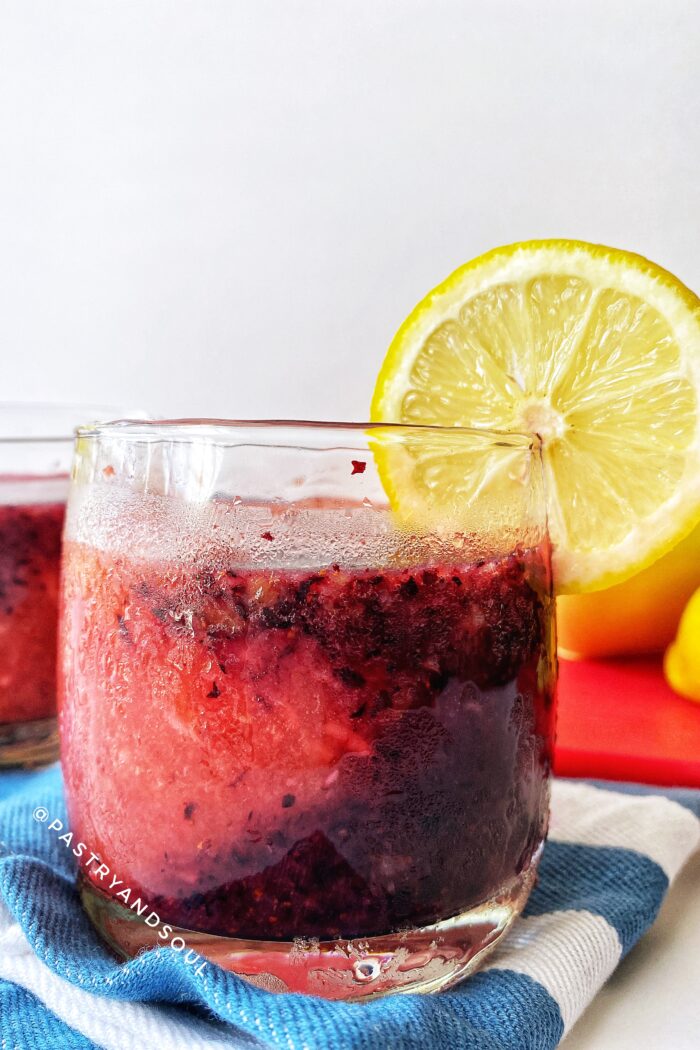
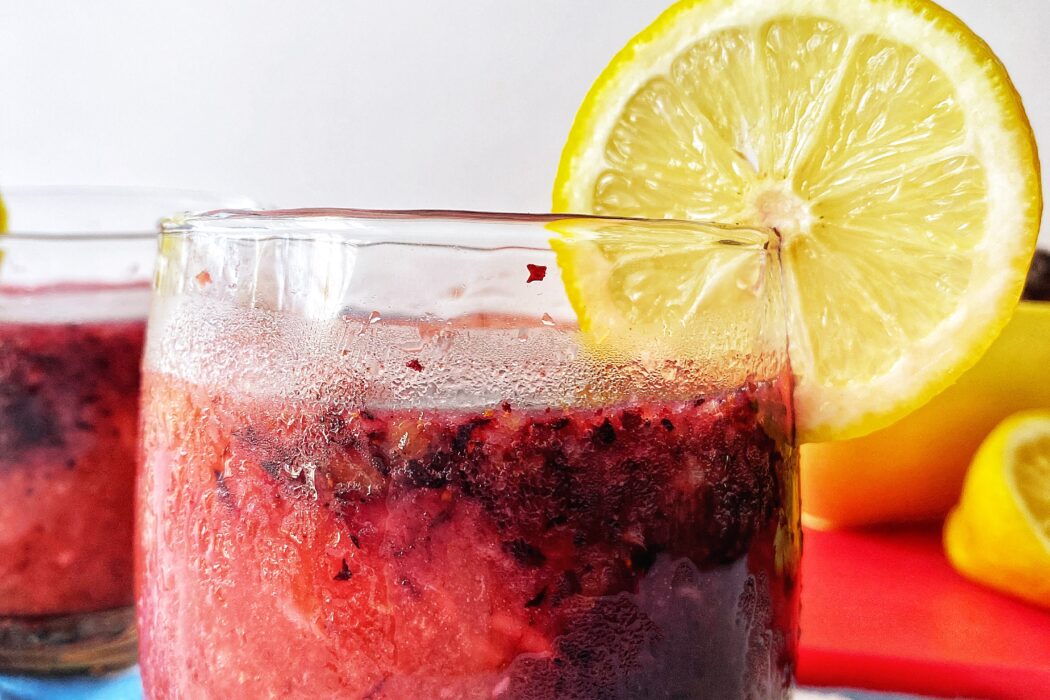
Easy Mixed Berry-Lemonade Wine Slushy
Enjoy this refreshing Mixed Berry-Lemonade Wine Slushy on a hot summer day or any day of the year! Whew! This summer has been toasty! How can you cool down, relax and enjoy the summer berry harvest before the pumpkin spice season begins? Try out this simple Mixed Berry-Lemonade Wine Slushy while ...
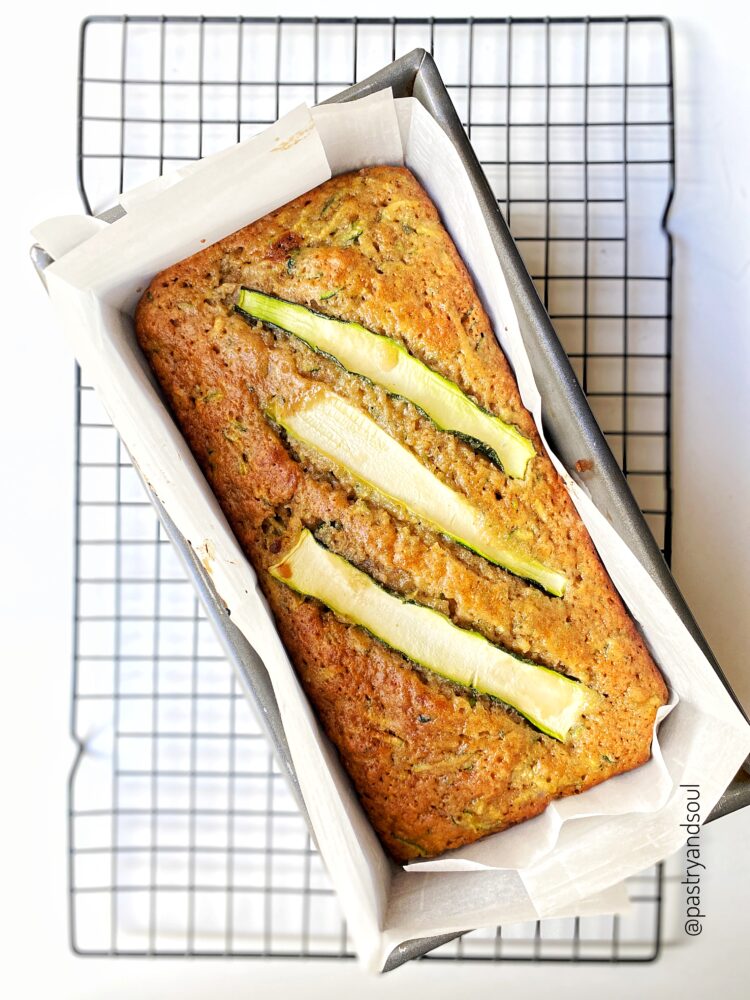
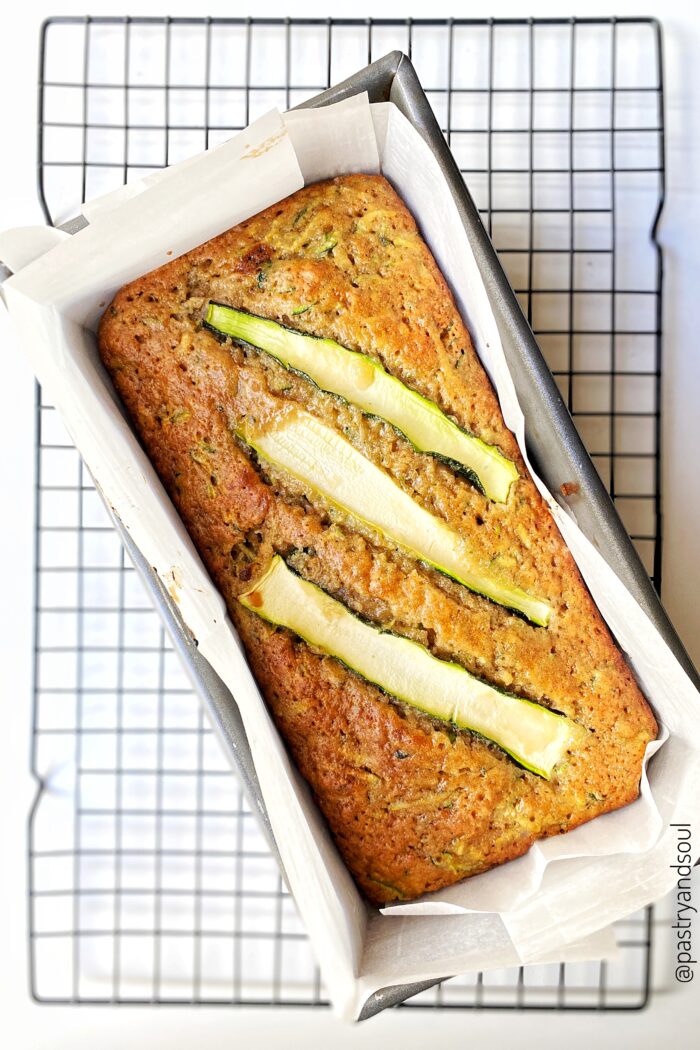
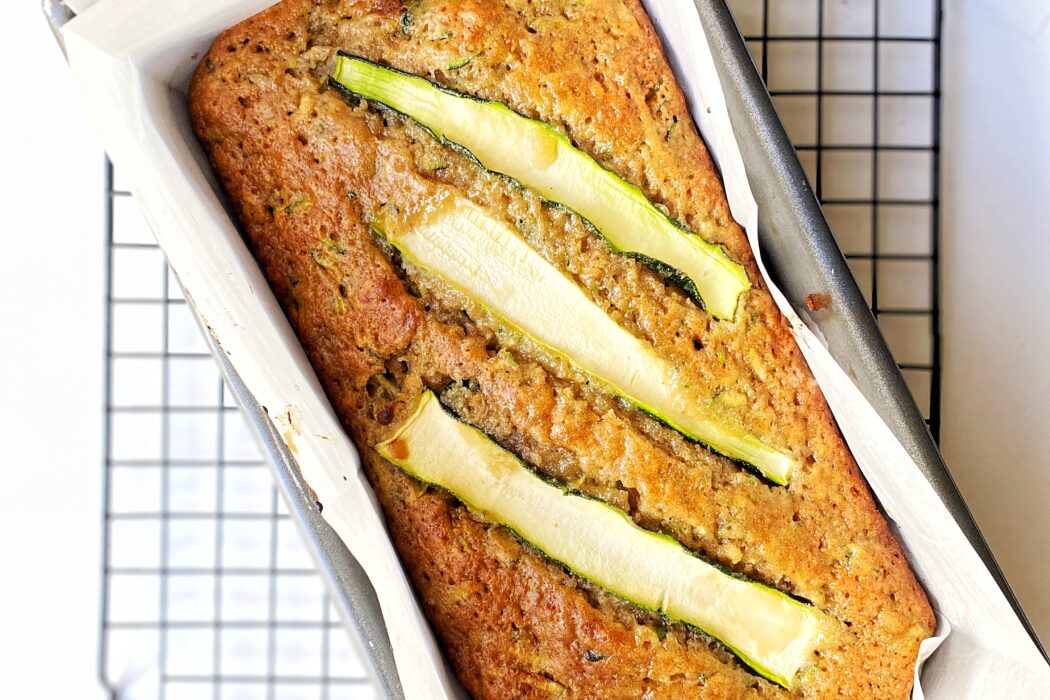
Quick, Delicious, and Perfectly Moist Zucchini Bread
Make this quick, delicious, and perfectly moist zucchini bread for a quick summer and fall treat! It's an awesome recipe for the extra zucchini from your summer harvest. I'm not the biggest fan of zucchini bread, however, I'm trying to step out of my comfort zone and try foods that I've been ...
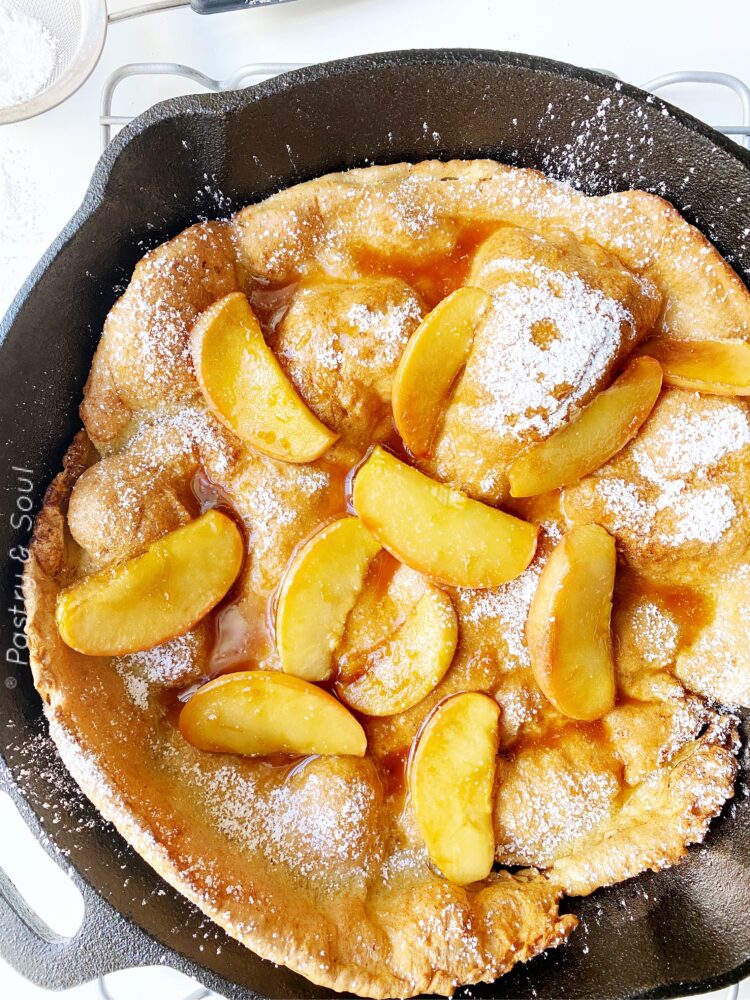
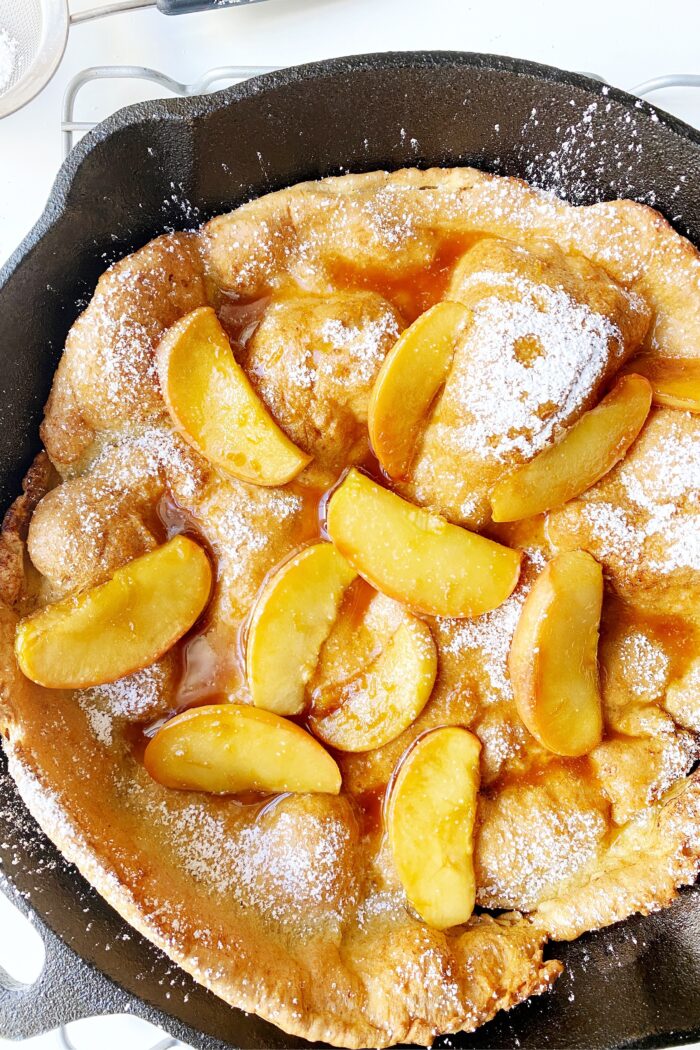
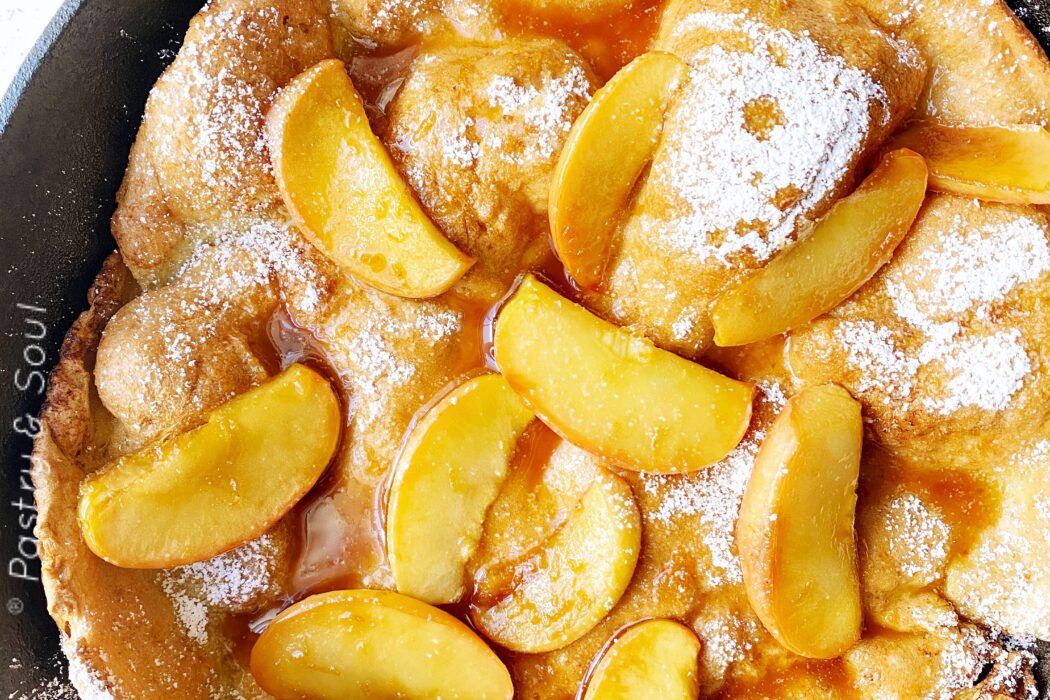
Dutch Baby with Caramel Apples
Dutch baby pancakes are a fun breakfast or brunch food to share with friends and family. The addition of the caramel apples adds most of the sweetness to this morning treat. Dutch babies are in the same family as popovers and Yorkshire pudding. Along with the caramel apples, you can also top the ...
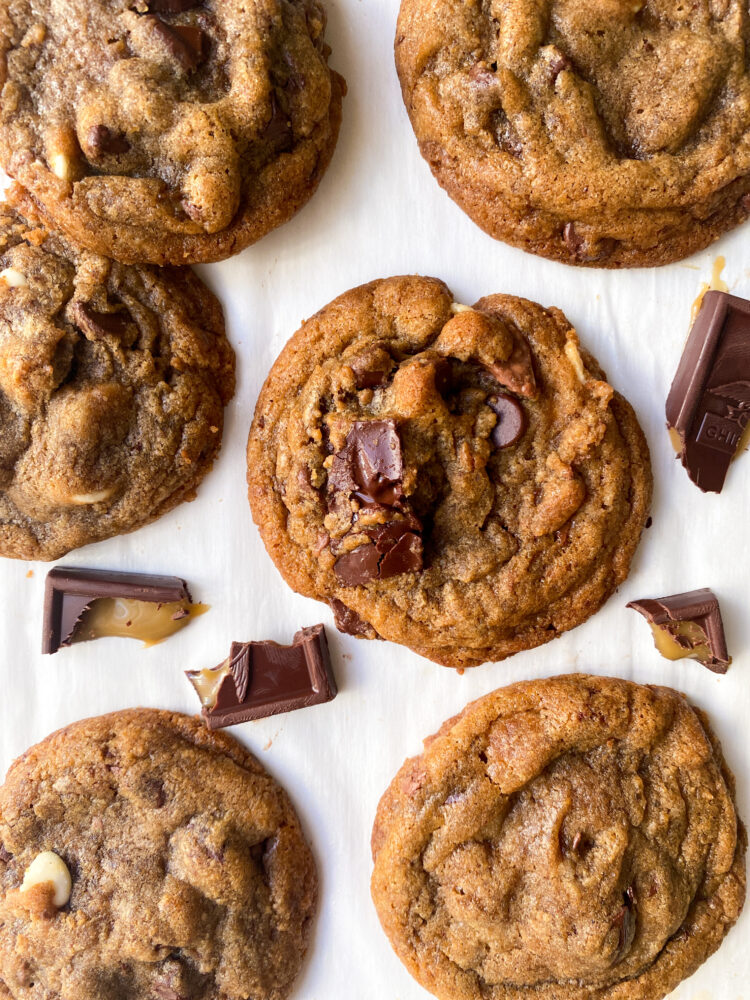
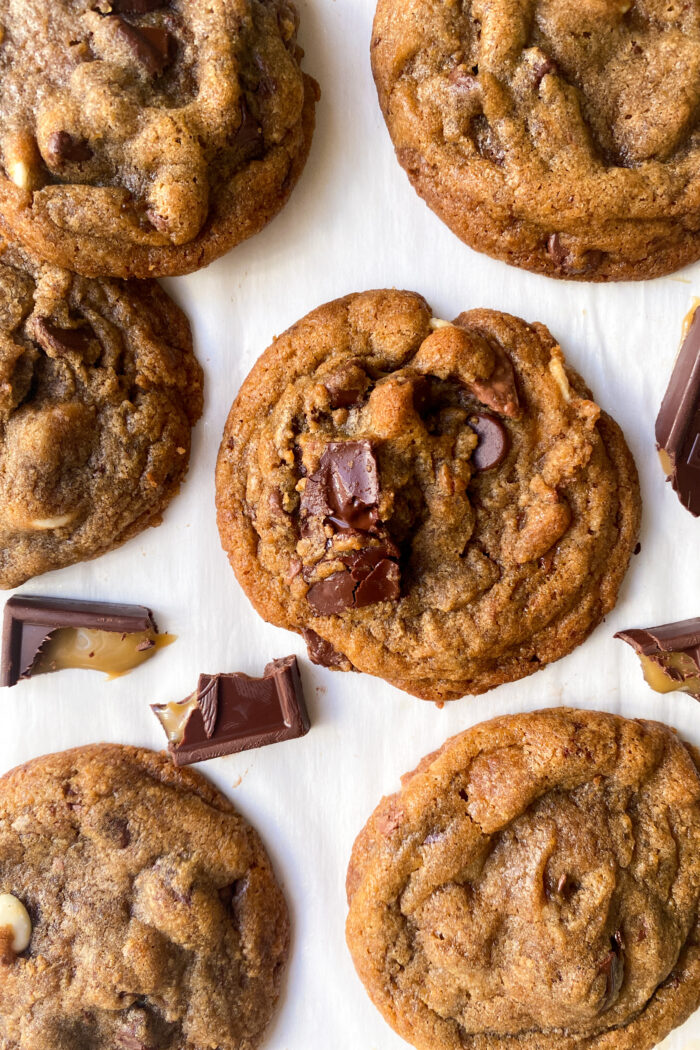
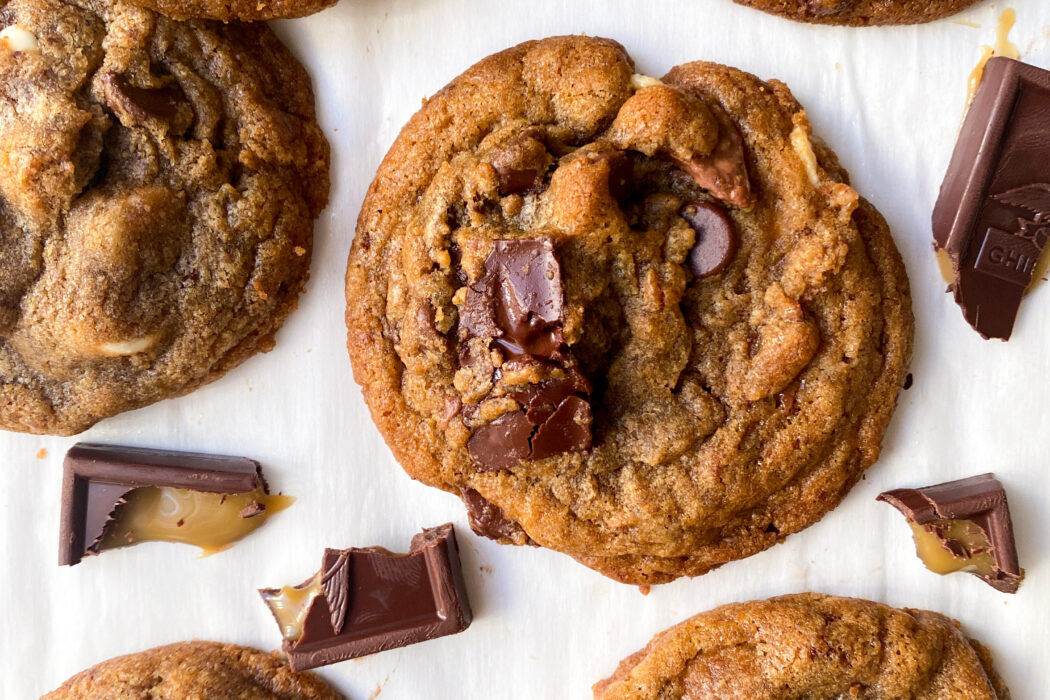
The Ultimate Triple Chocolate Chip Cookies
This recipe for the Ultimate Triple Chocolate Chip cookies comes from my hunt for the perfect chocolate chip cookies! My chocolate chip cookie journey has taken me from the grocery store, various bakeries, and multiple bags of sugar and flour to THIS recipe right here. It's currently my favorite ...
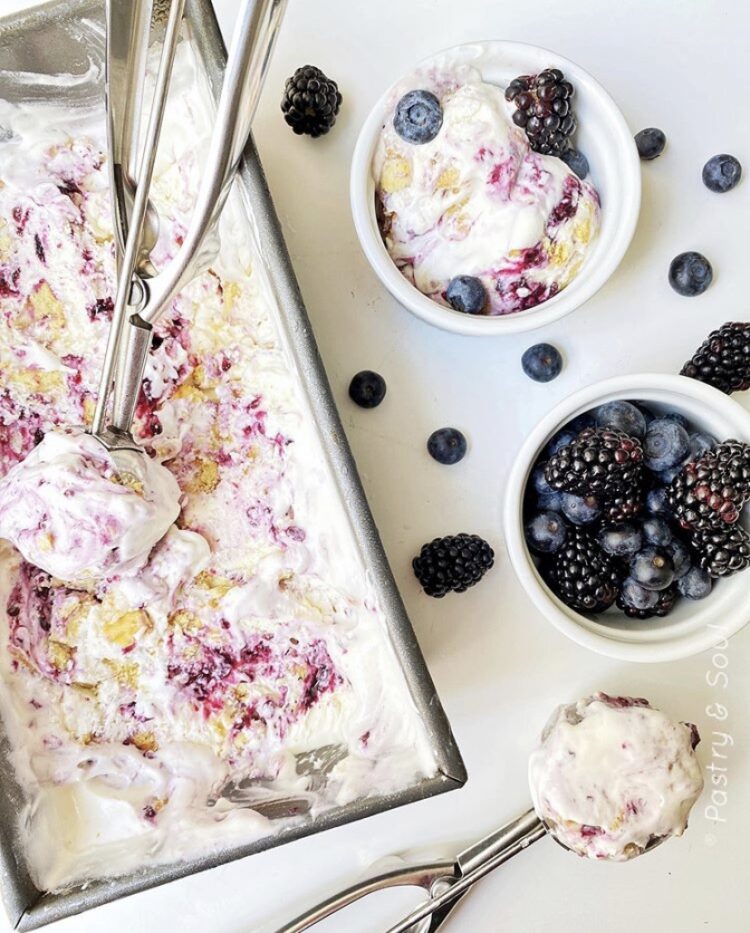
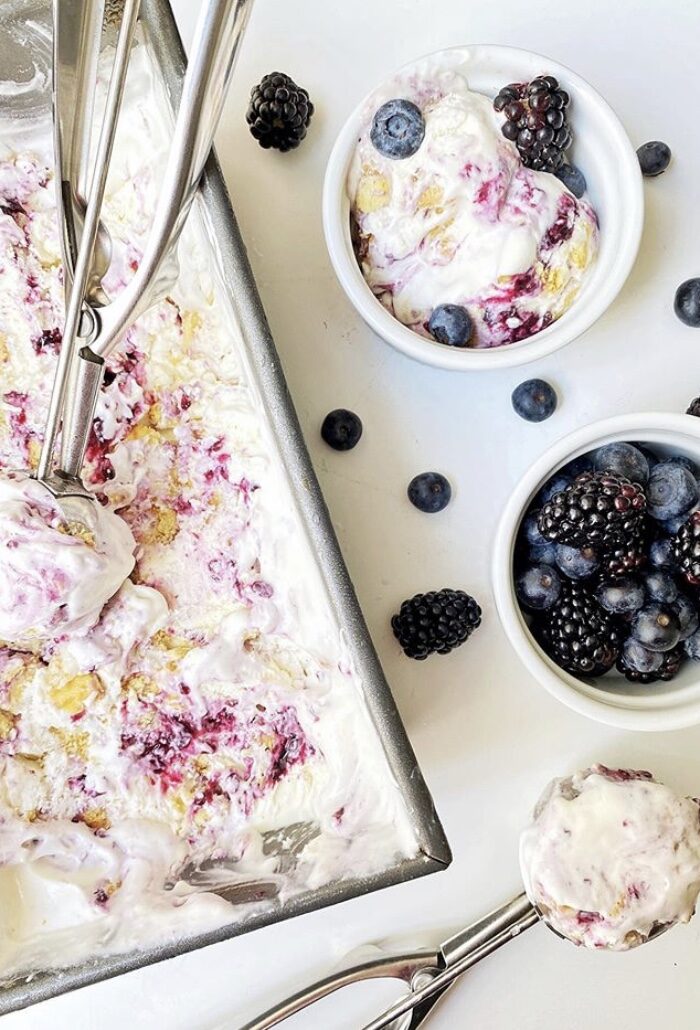
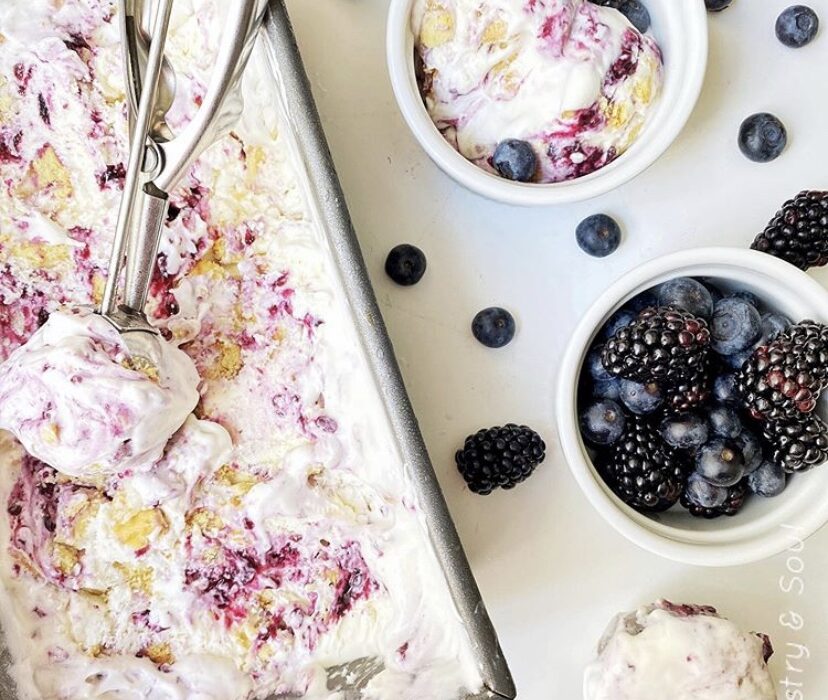
No-Churn Homemade Mixed Berry Jam Ice Cream
Ice cream is one of the best desserts that has ever graced this world. I've had some amazing ice cream over the years, but this No-Churn Homemade Mixed Berry Jam Ice Cream is even better since it's mouthwatering and easy to make. This mixed berry jam ice cream with vanilla sandwich cookies is so ...

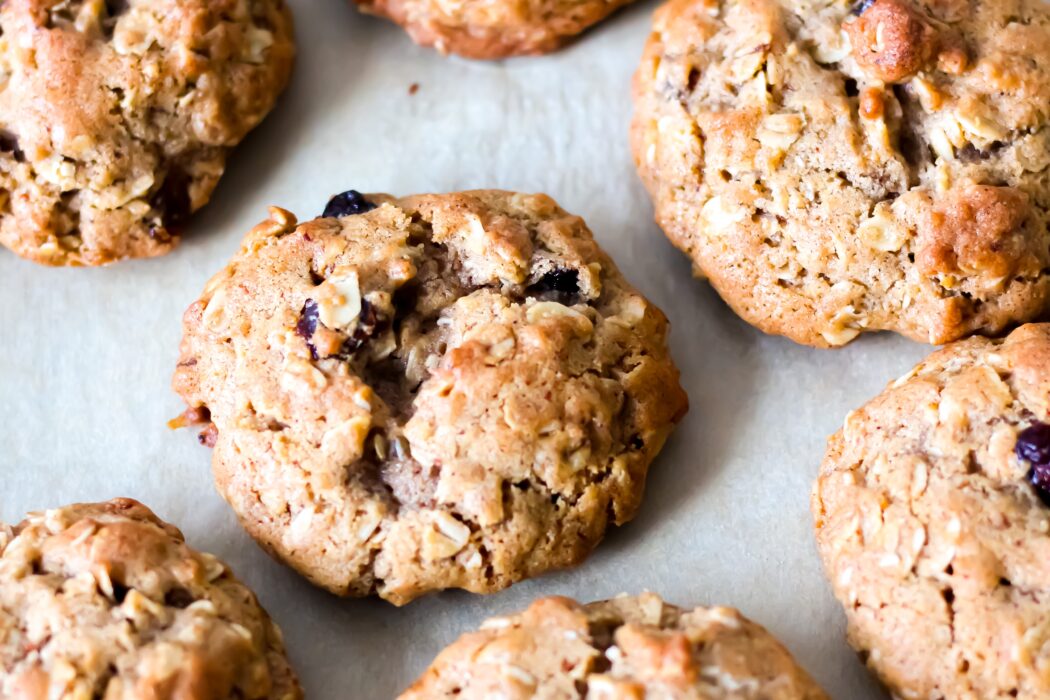
Oatmeal Cranberry and Raisin Cookies
I have to admit that I'm not a fan of oatmeal and raisins. Why do I have a blog post about oatmeal cranberry and raisin cookies? Well, I'm glad you asked! I enjoy baking anything and everything for my loved ones, and many of them really love oatmeal raisin cookies, so that's why I make them. ...

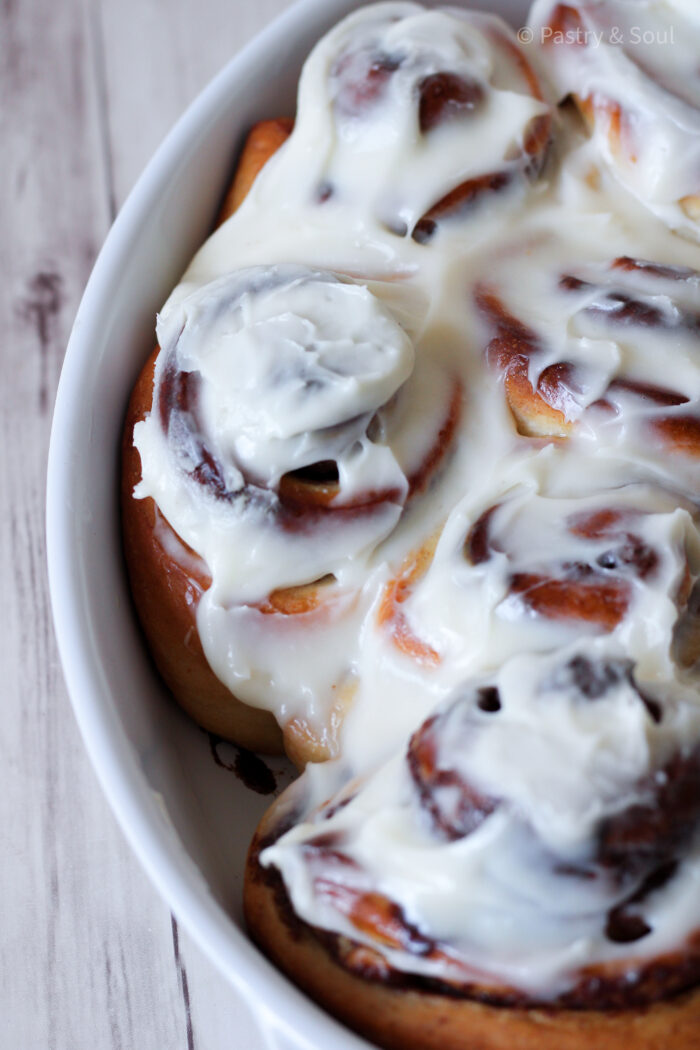
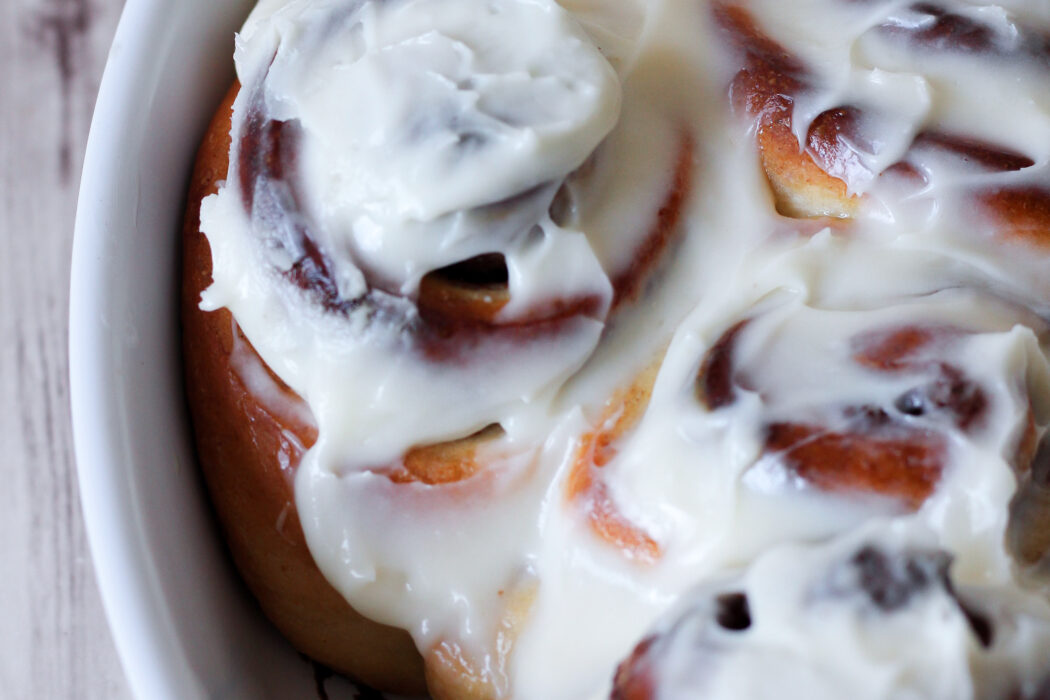
Soft and Buttery Cinnamon Rolls
These soft and buttery cinnamon rolls will be your new go to cinnamon roll recipe! There’s nothing better that a warm, cloud of dough with cinnamon sugar swirls and draped in vanilla icing. I love having brunch with my friends and biting into a soft cinnamon roll. I always fee like my day is ...
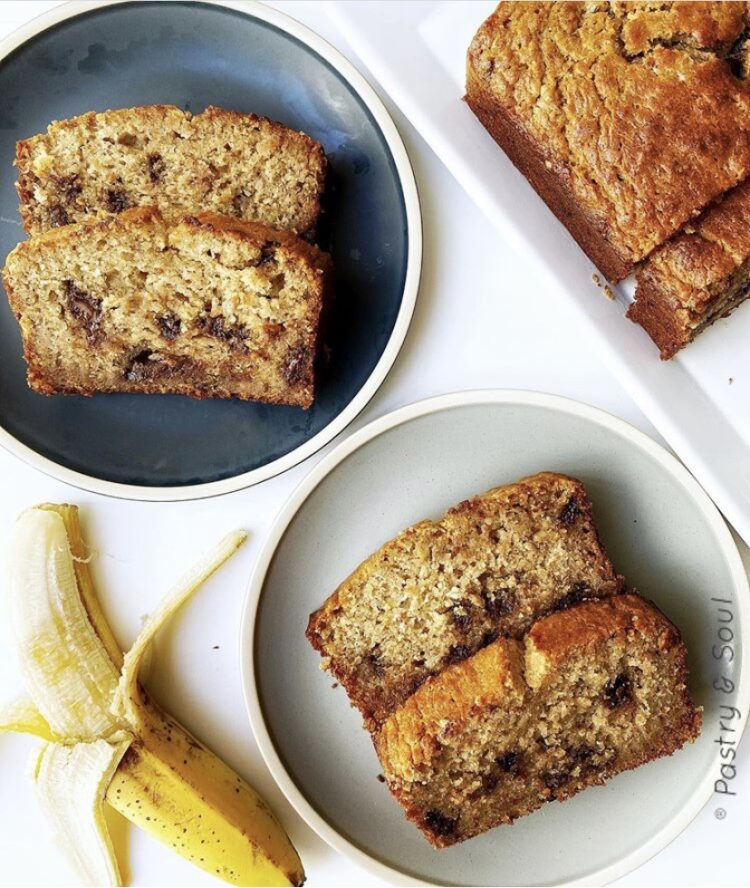
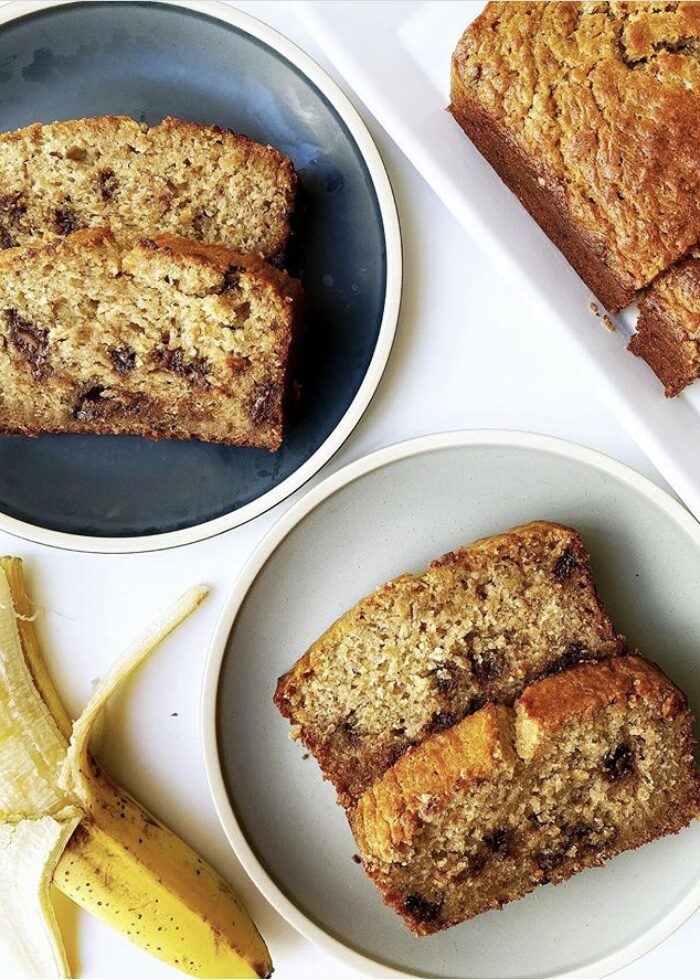
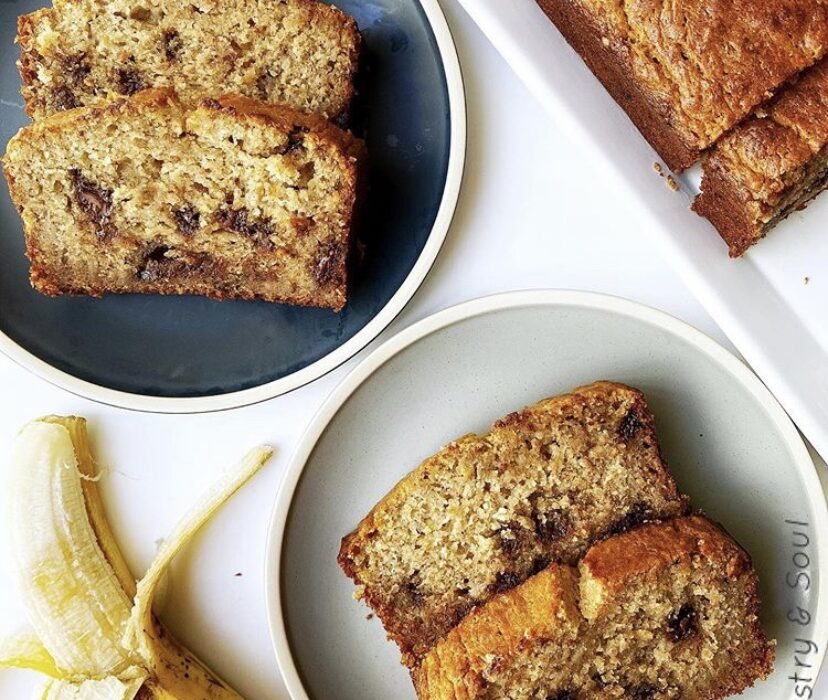
Brown Butter Chocolate Chip Banana Bread
Have you ever told yourself that you're going to eat those bananas that are still sitting on your counter? Did you purchase one too many bunches of bananas and now they're getting a little old? Banana bread is a quick bread recipe that is perfect for when you forget about those bananas in the ...
- 1
- 2
- 3
- 4
- Next Page »
